Getting going
Building the legs
-
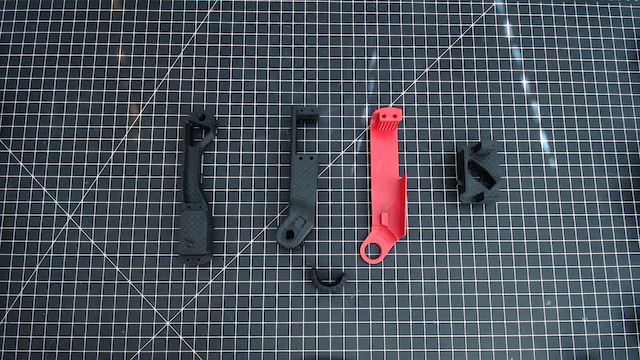
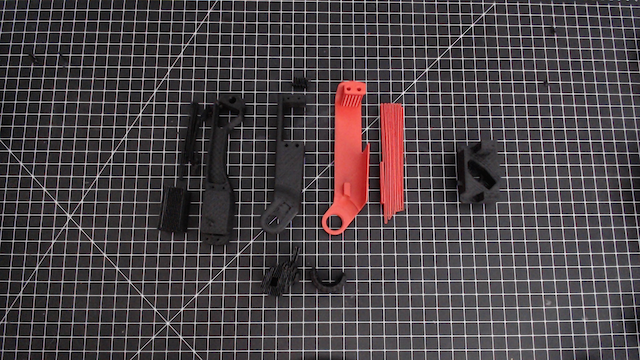
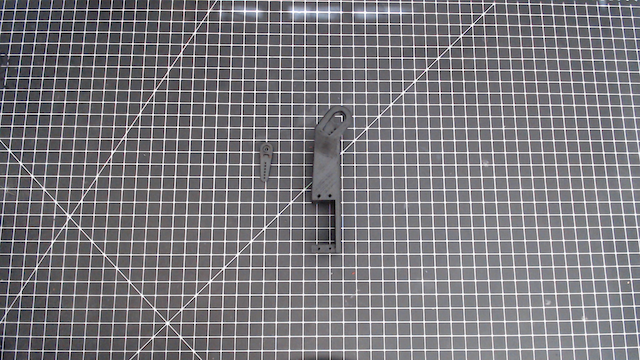
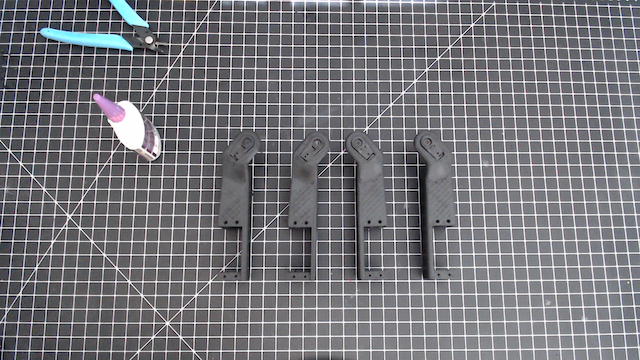
The leg consists of five parts, the foot, the forearm, the mid-arm, the mid-arm cover, and the upper-arm (See picture below). Print these for each of the four legs. (don't forget to flip the parts for the opposite side). The parts are shown in the orientation that I printed them, I've found this orientation yeilds favorable results.
-
Remove Supports
-
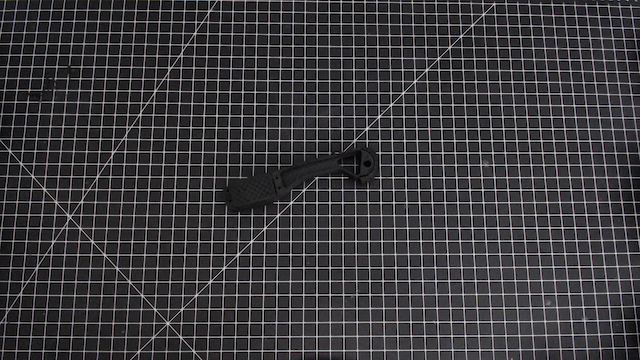
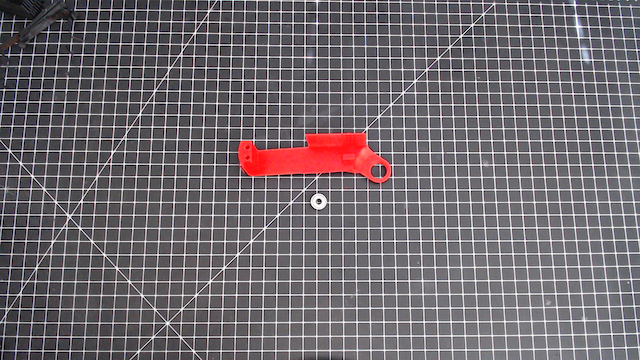
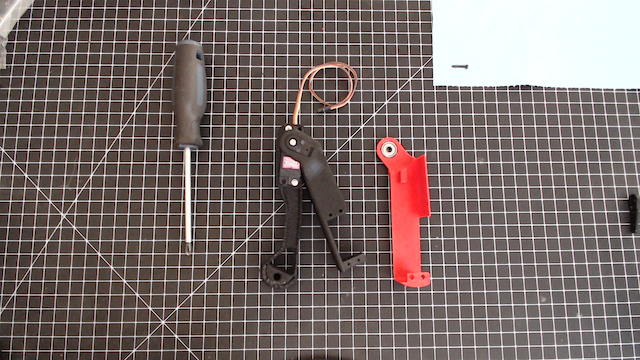
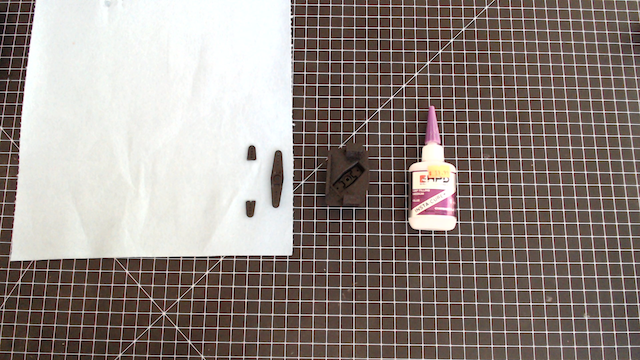
Grab the Foot and the Forearm and then
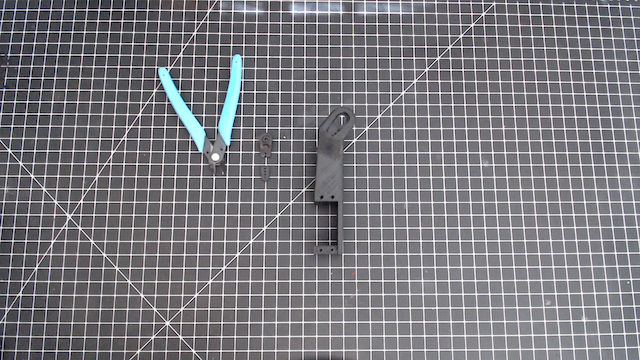
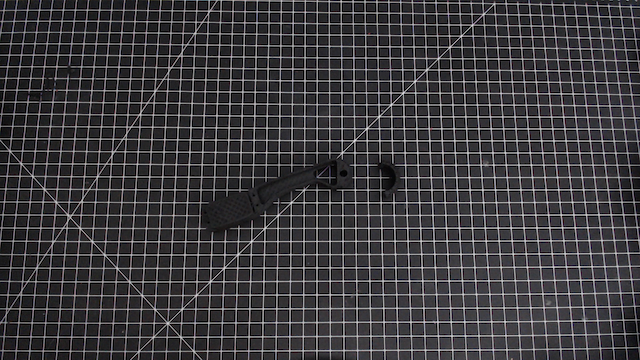 Test fit them and remove any irregularies the get in the way.
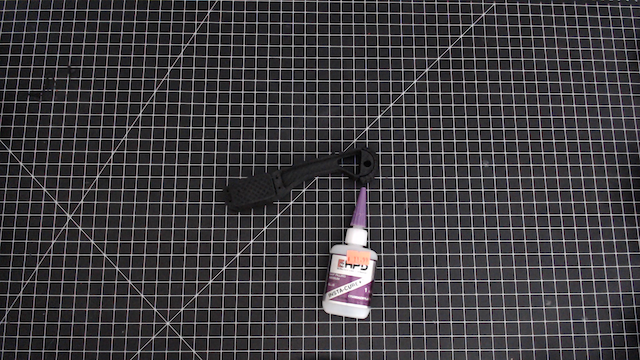
 Glue them together either with hot glue or CA glue.
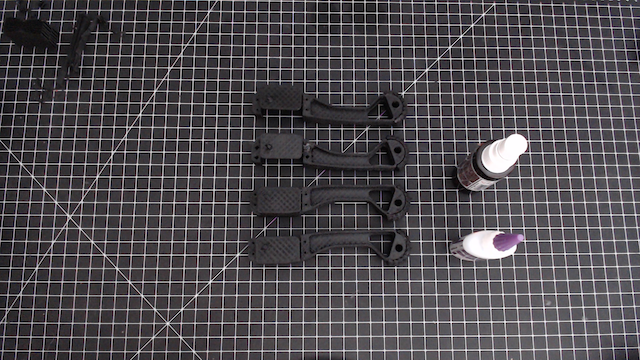
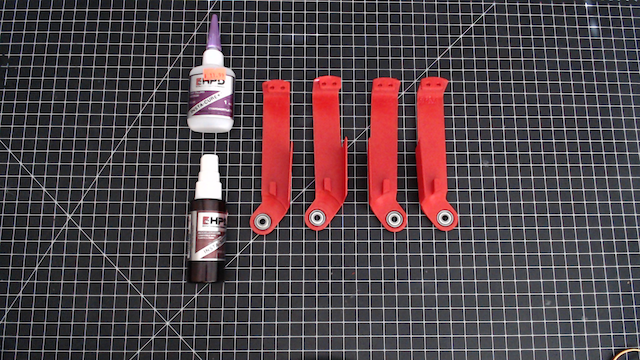
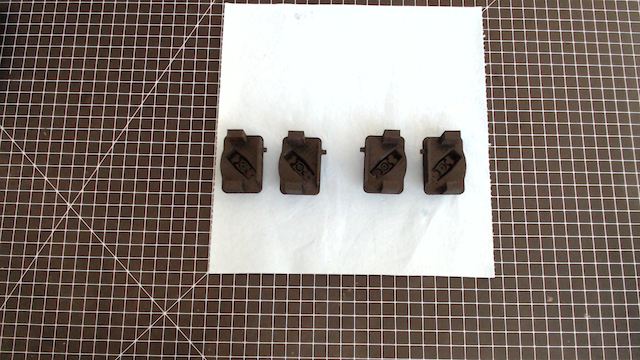
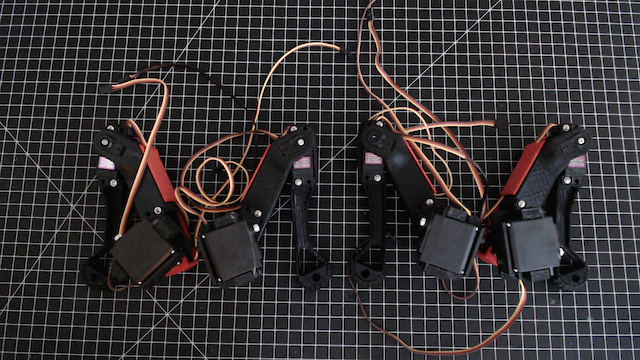
 Repeat for the remaining legs.
-
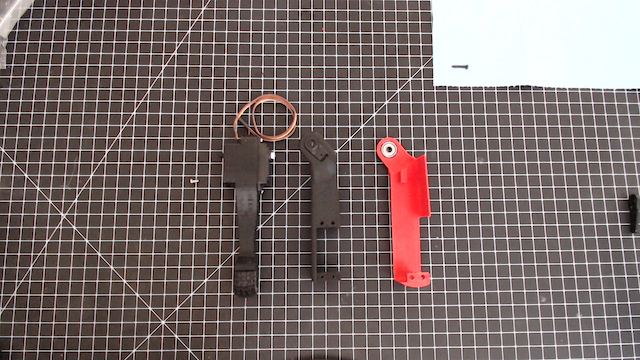
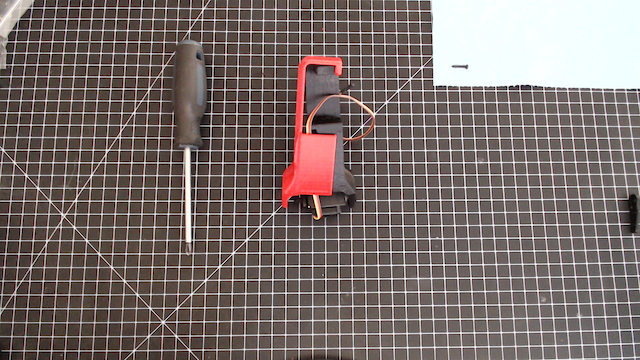
Grab a servo for each of the forearms as well as two mounting screws.
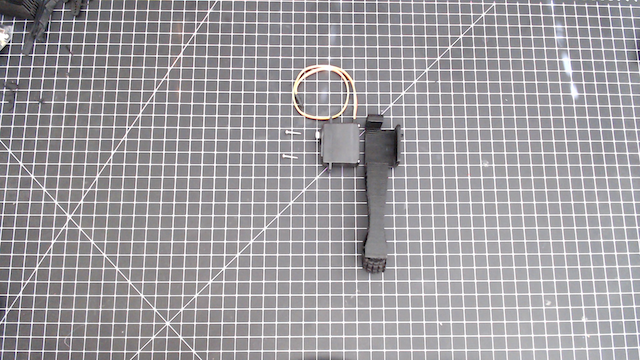 Insert the servo with the nub facing away from the foot. Insert the screws into two of the mounting holes.
 Repeat for the remaining legs.
-
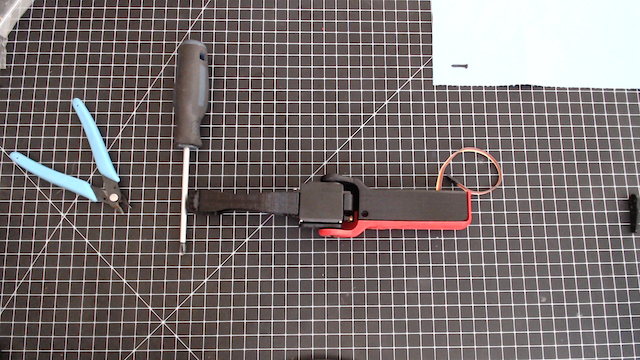
Grad the midarm and a servo horn.
 Cut the servo horn at the second hole. Test fit the servo horn into the spot for it.
 Glue using either hot glue or CA glue being careful not to get any glue in the space where the horn mates with the servo and repeat for the remaining legs.
-
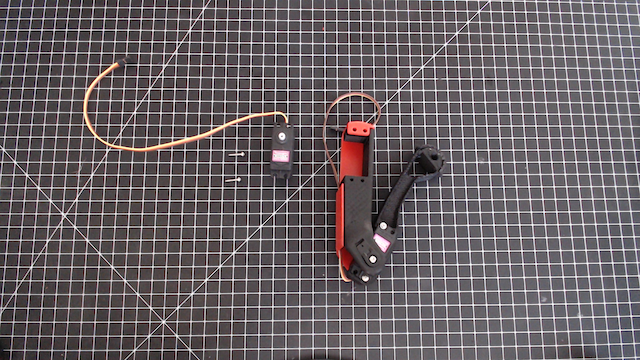
Grab the mid-leg covers and a 5mm bearing.
 Place the bearing in the recess and drip a few drops of CA glue around the edges where the bearing meets the plastic, being careful not to get any glue on the inner part. Repeat for remaining mid-leg covers.
-
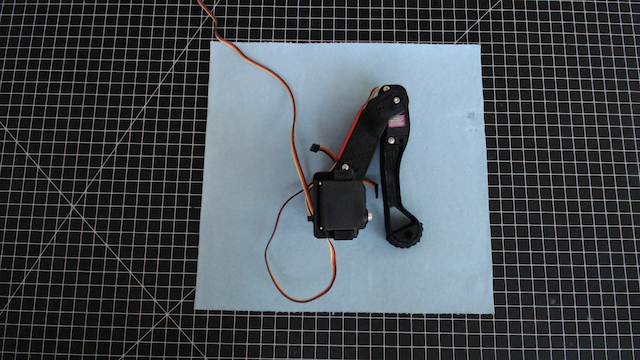
Grab the completed foreleg, the completed mid-leg, the completed mid-leg cover, one servo horn screw and one 3M 12mm threadcutting screw
 Attach the completed mid-leg to the completed foreleg via the servo horn. Be sure that the servo's end position matches with the point at which the leg is most flexed.
 Test several times to be sure the servo is in the correct orientation. When you are satisfied it is, screw in the servo horn.
 Loosly fit the mid-arm cover over the mid-arm, thread the servo wire through the small passage leading up the leg.
 Open the leg.
 Insert the screw into it's receptacle on the back of the leg
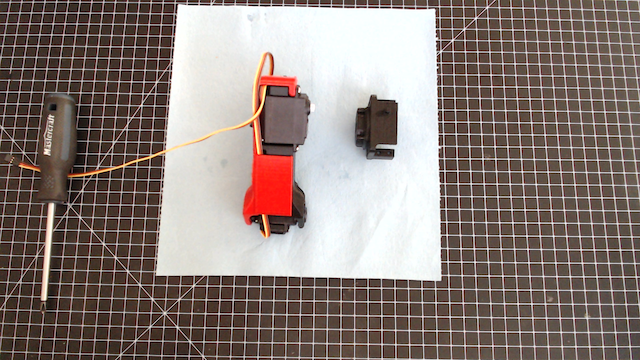
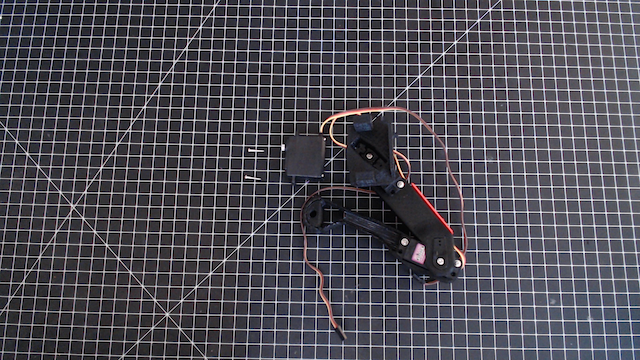
 Grab a servo and mounting screws
 Insert the servo into it's home with the servo lead pointing towards the foot
 Insert the mounting screws to secure the servo in place
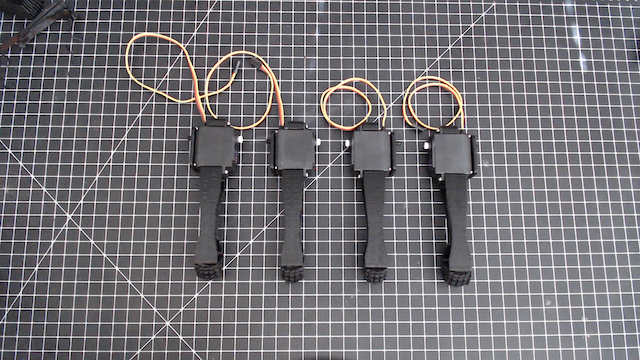
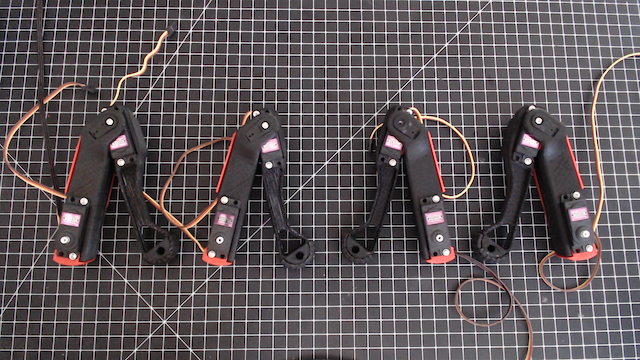
 Repeat for the remaining legs
-
Grab an segment of upper arm, a two armed servo horn, and some cutters. Cut the servo horn at the second hole on both sides.
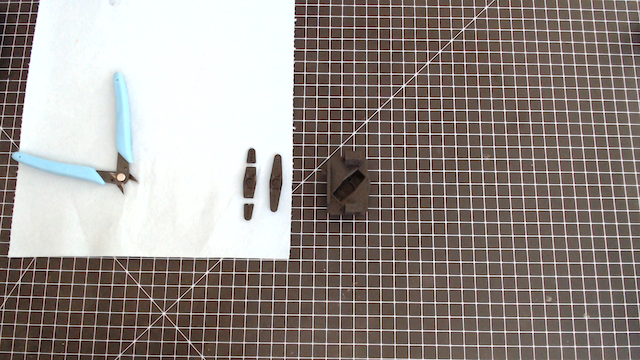 Test fit the servo horn. When comfortable with its fit glue into place using a generous amount of glue.
 Repeat for the remaining upper-arms
-
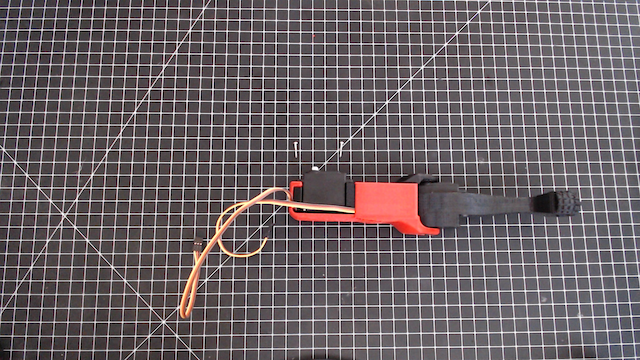
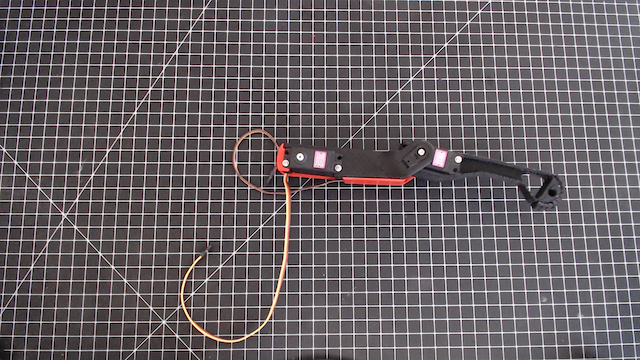
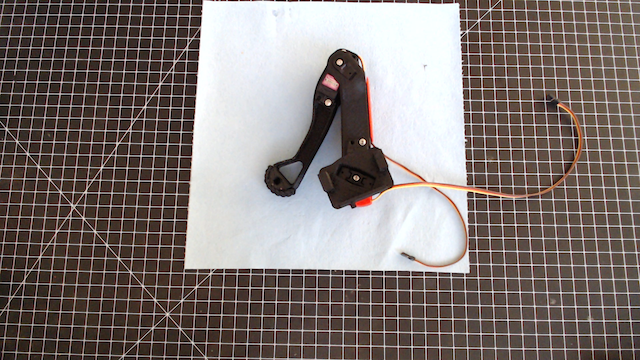
Grab upper arm and completed lower leg.
 Test fit the upper leg onto the rest of the leg, ensure proper range of motion


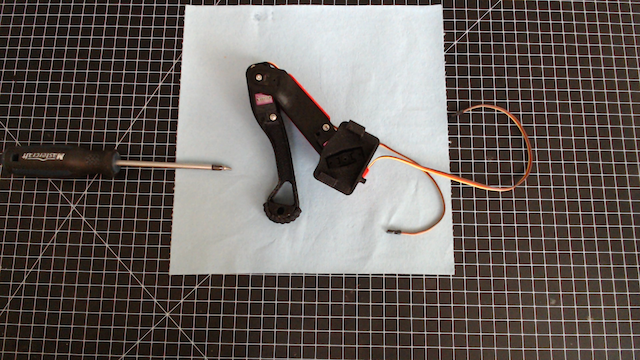 When comfortable with range of motion, screw the servo horn in place.
-
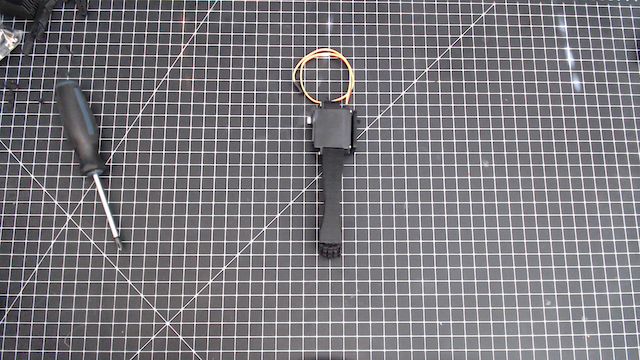
Grab a servo and mounting screws
 Place the servo with the horn facing away from the foot (same end as the nub in the plastic)
 Insert the mounting screws
-
Finish writing the rest of the tutorial and you're done!
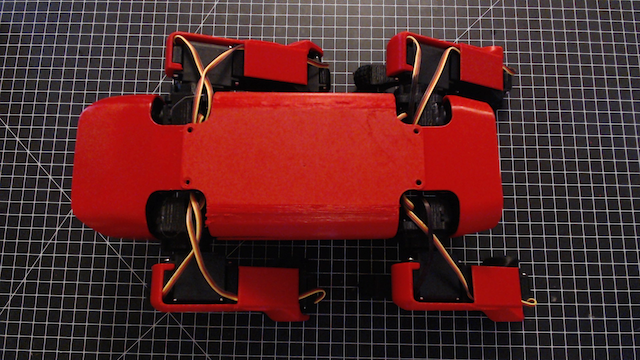
Assembly order: 3. Legs 1. Body 2. Shoulders 4. Electronics
Body
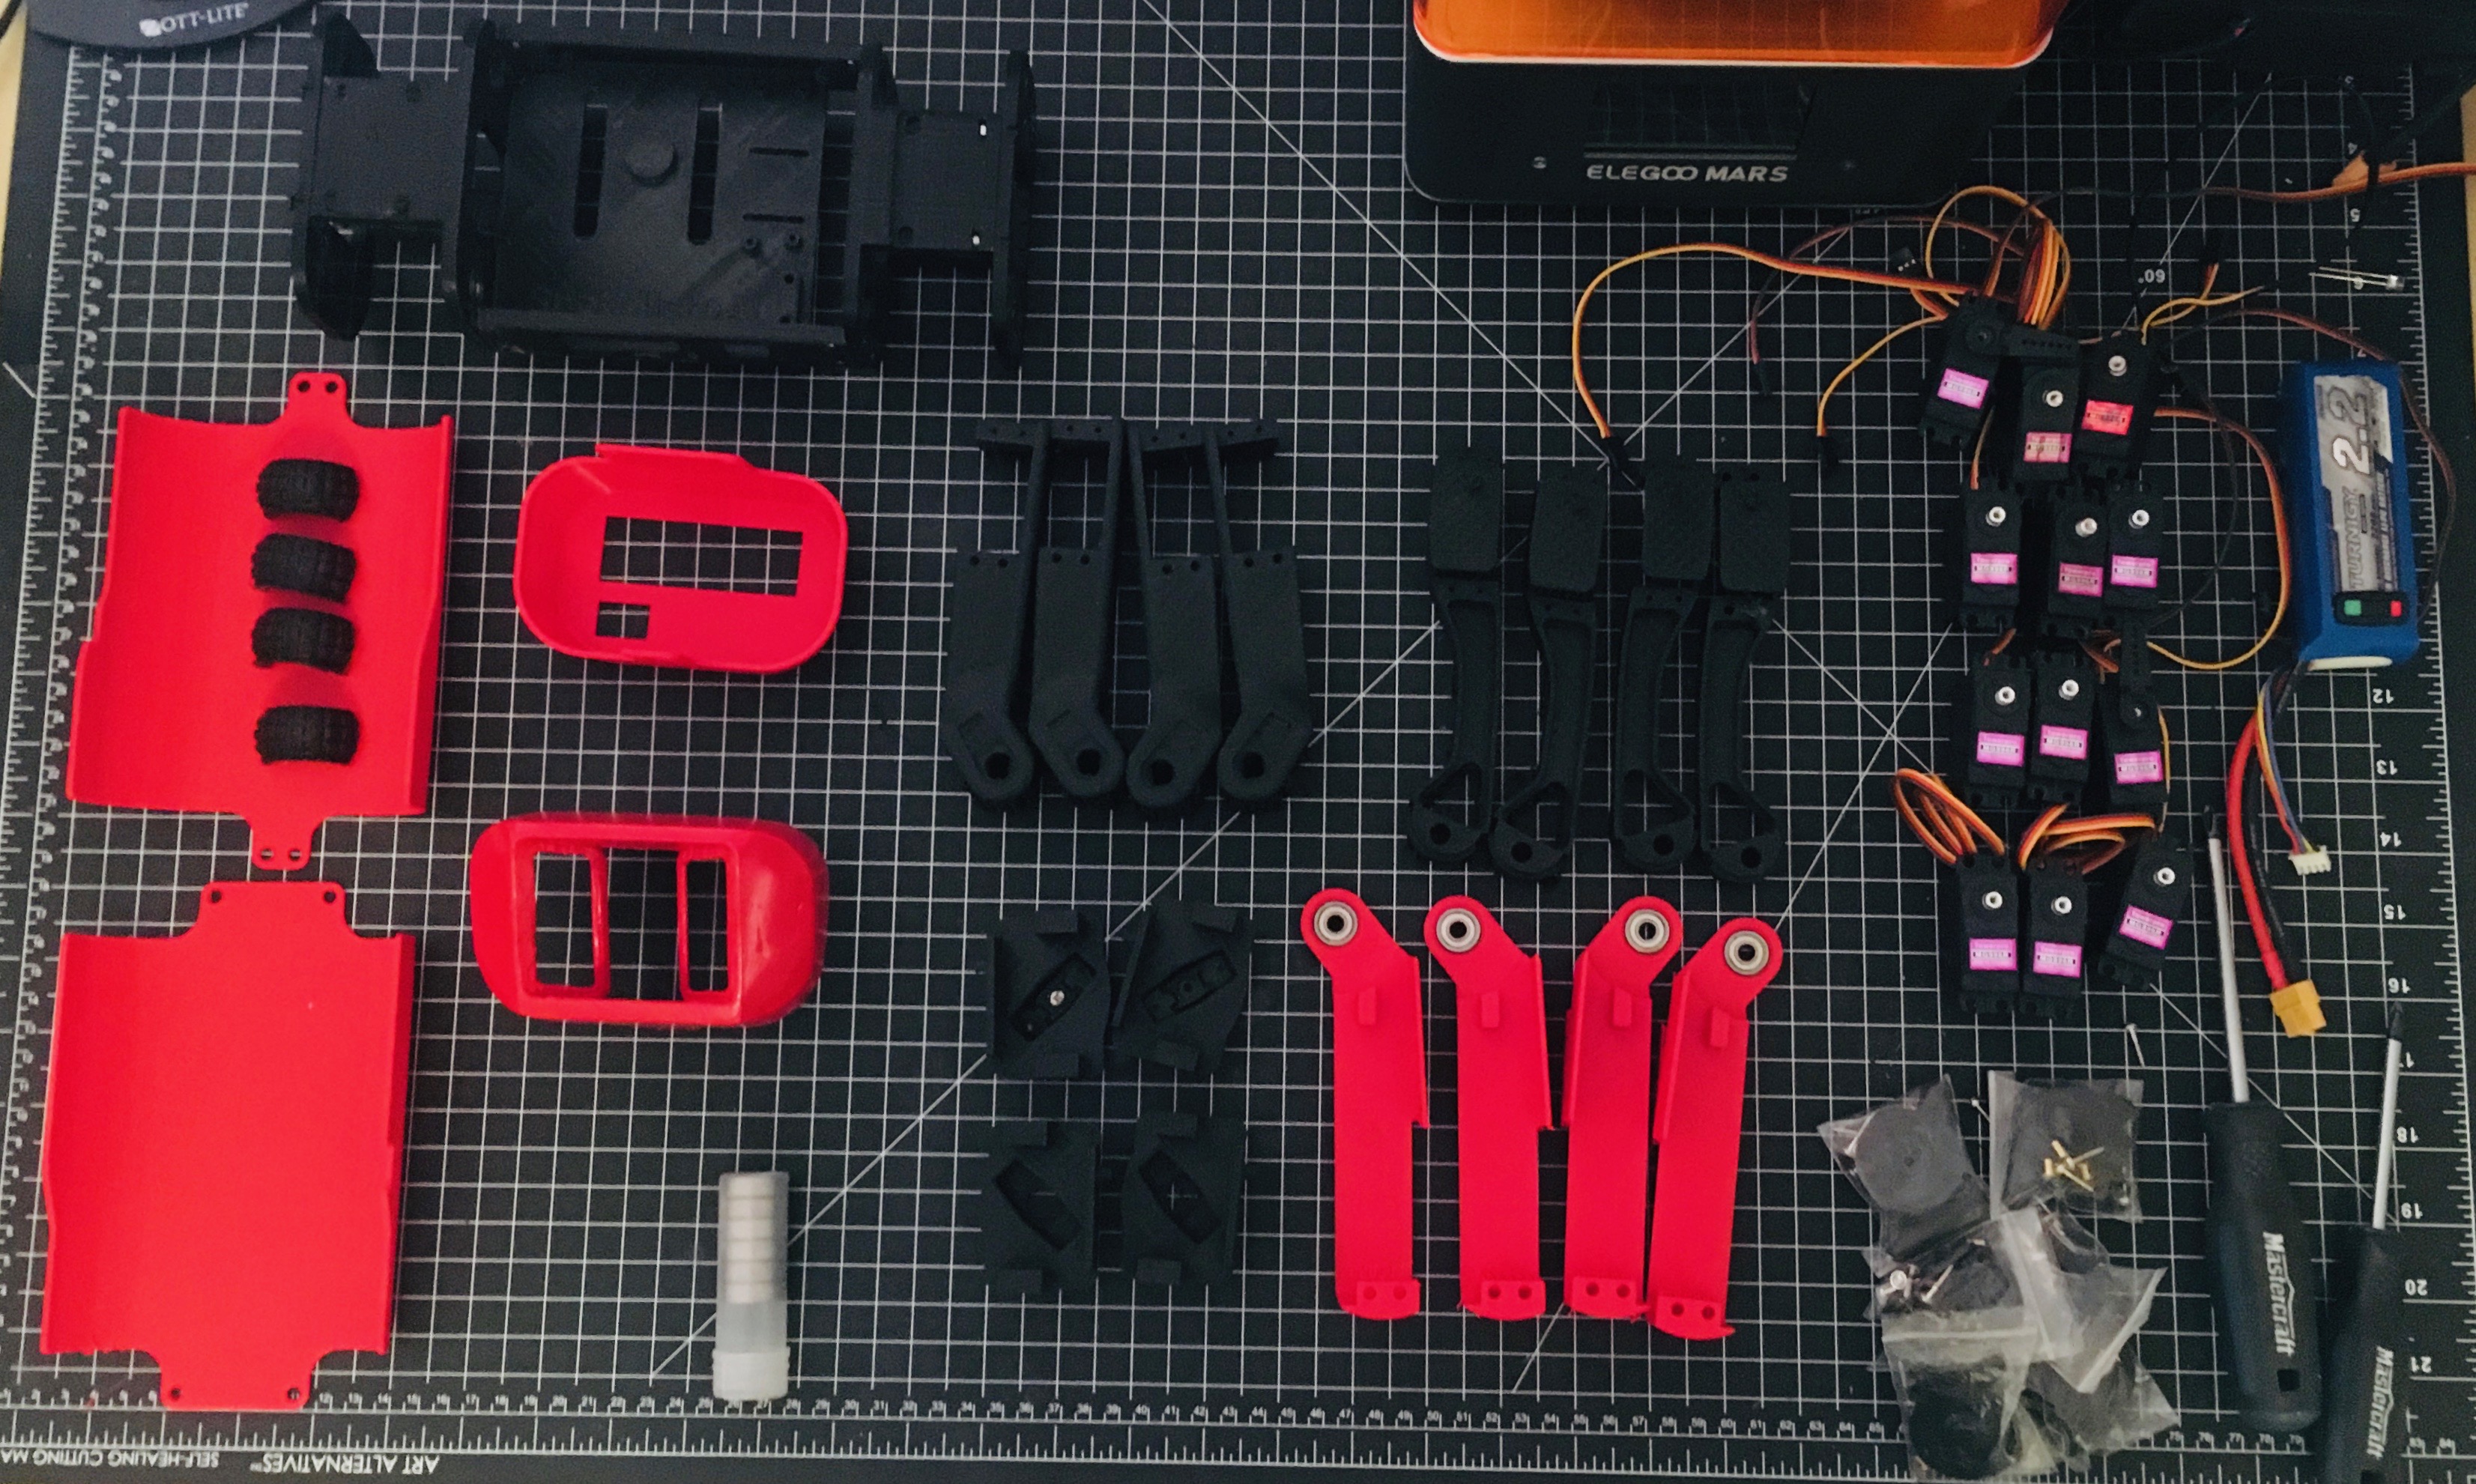
Picture of all the body parts
TODO: Tutorial
TODO: I will provide a Fritzing-Layout in the near future.